Setting up and hardening a headless Raspberry Pi
The Raspberry Pi is cheap and tiny Linux box that has a plethora of use cases. The most common one for myself is as a server with no display or input devices. There are official instructions for these "headless" setups but I wanted to write out the exact steps I take so I have something I can easily refer to in the future.
Install the Raspberry Pi OS
The first step is to install the Raspberry Pi OS onto a microSD card. The easiest way to do this is through the Raspberry Pi Imager which handles downloading, configuring, and flashing the latest version of the Raspberry Pi OS Lite on the card. You can manually download the OS and flash it to a microSD using a program such as belanaEtcher but the Raspberry Pi Imager really truly does simplify the entire process.
When you start the Raspberry Pi Imager you are presented with three choices:
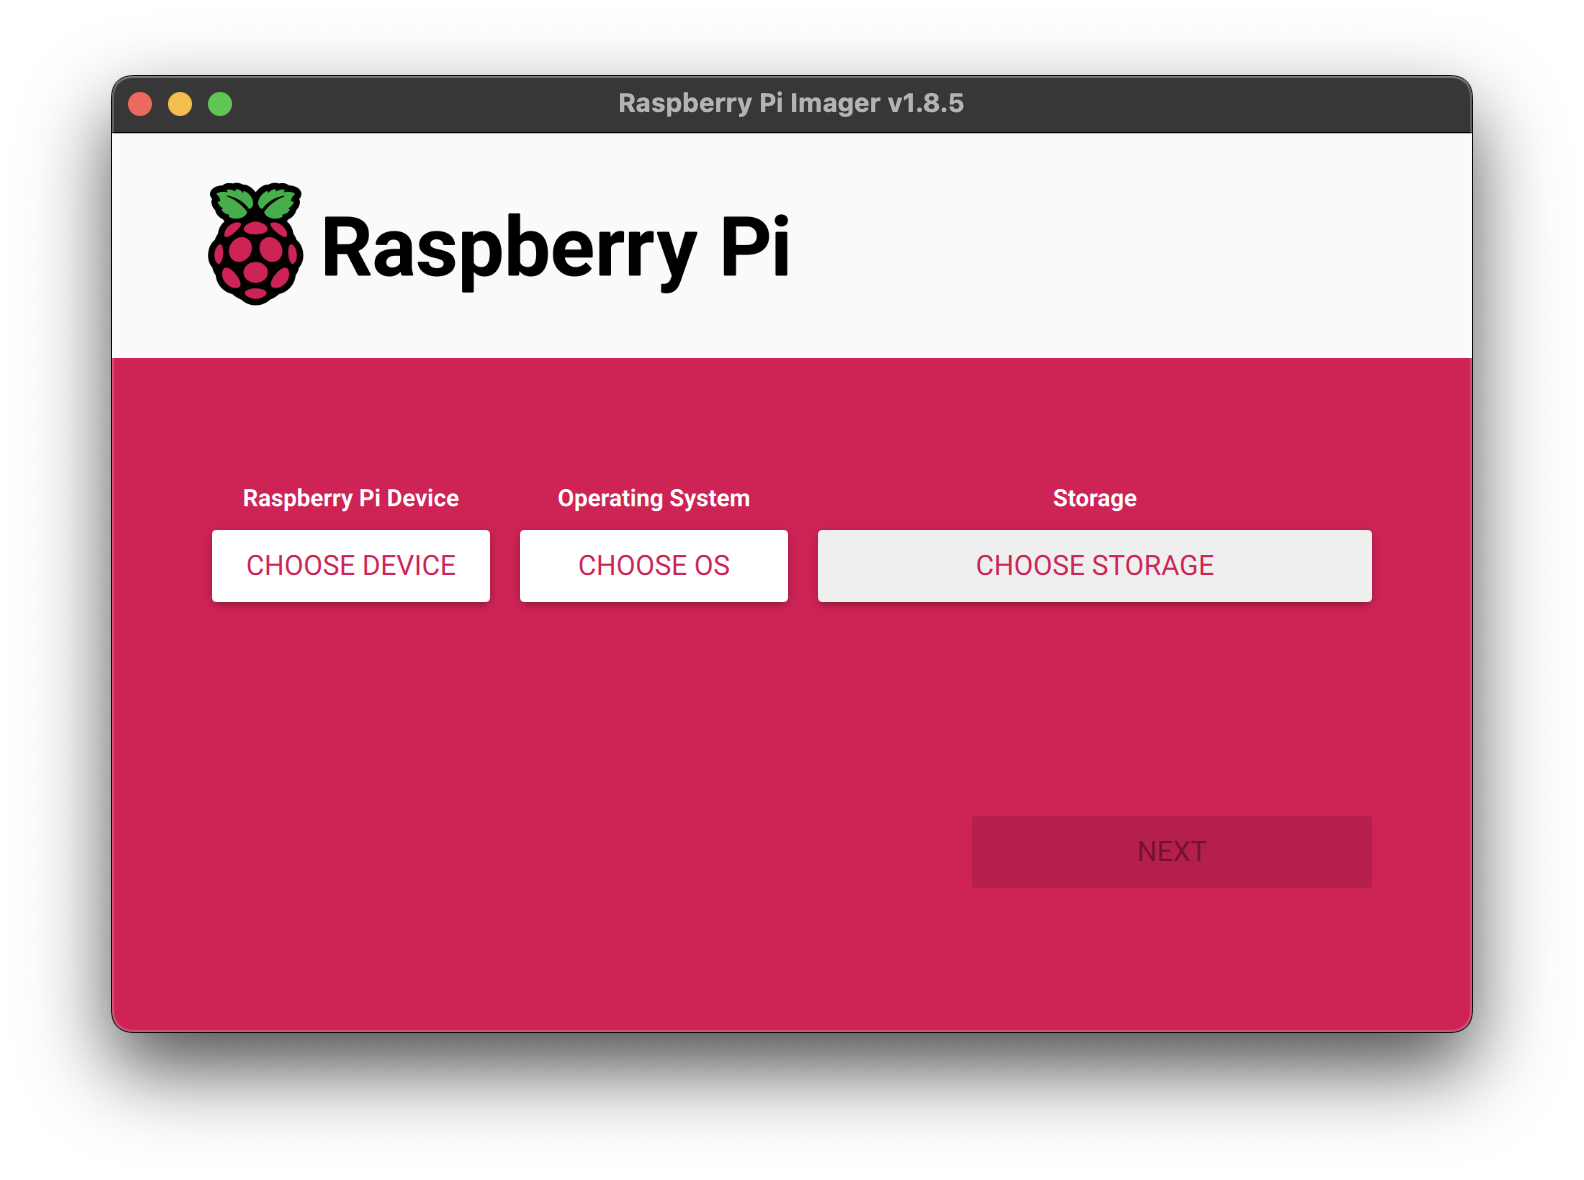
First, you must selected your Raspberry Pi. This should be straightforward as it is the model name of whatever device you will be using.
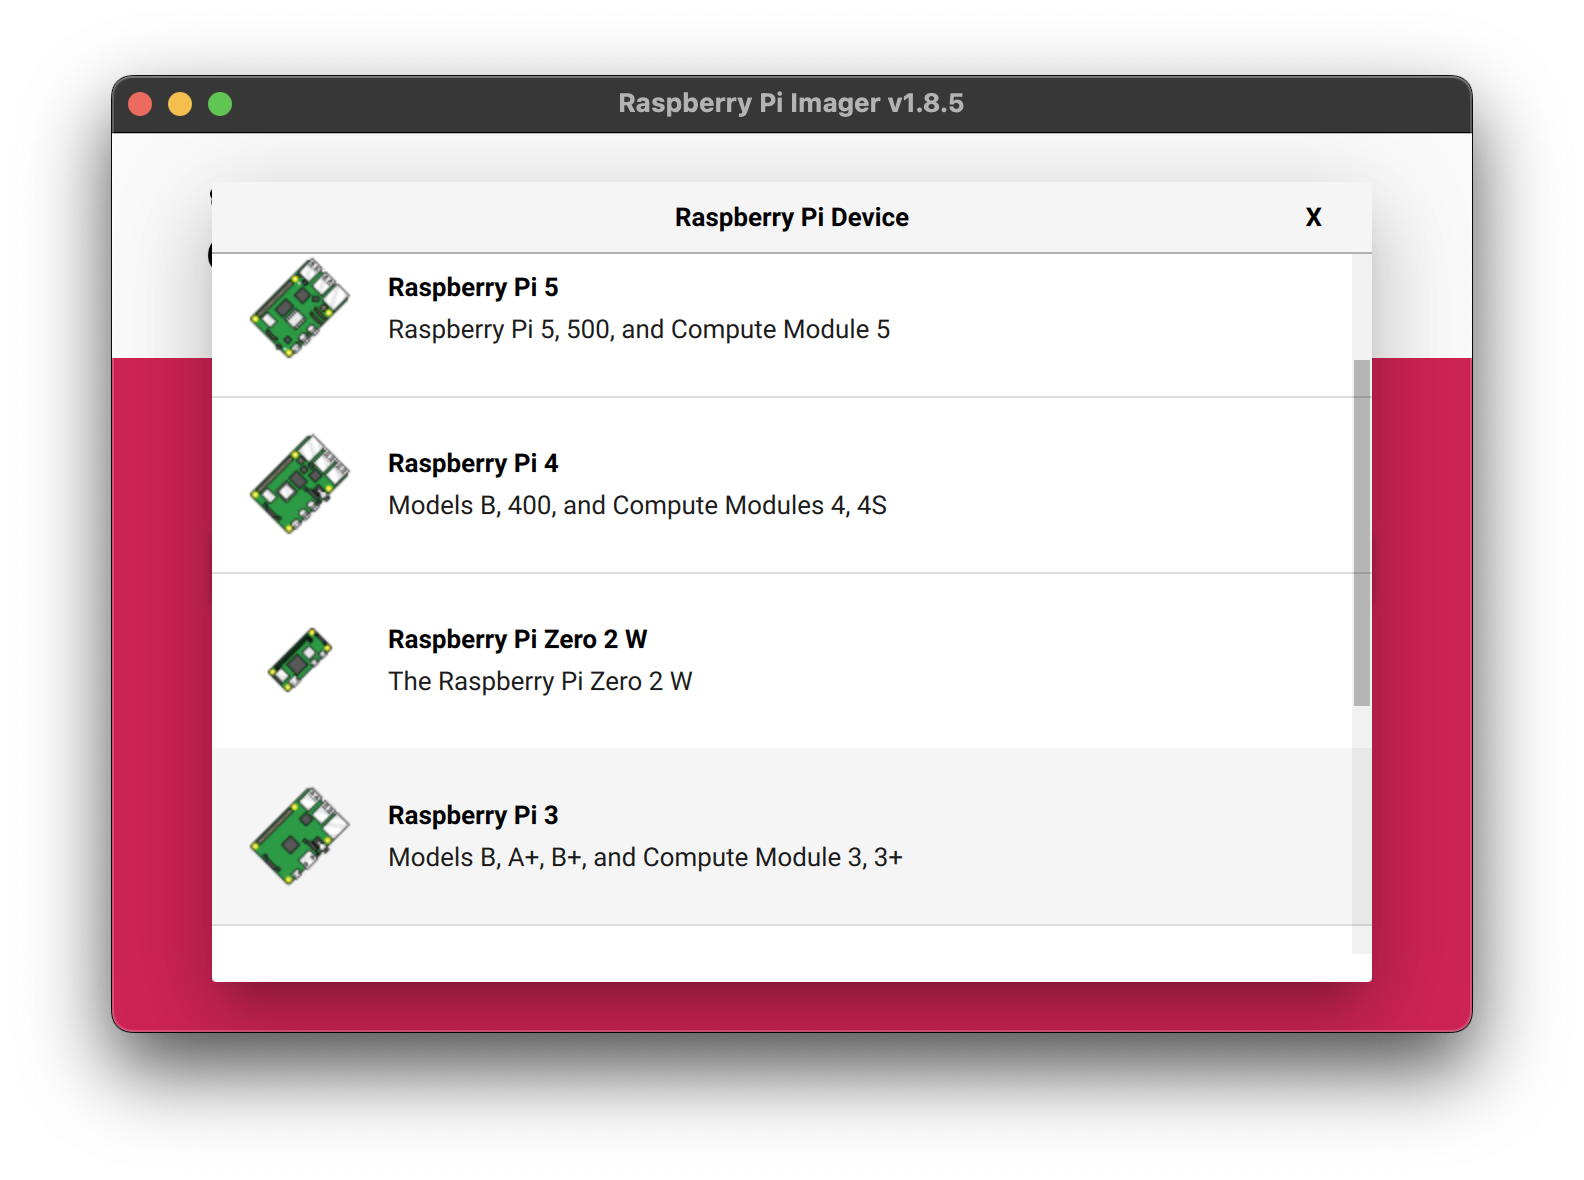
Second, you must select the operating system. The default list you are presented with probably contains only desktop versions which are unnecessary as you are running a headless device. You'll want to install "Raspberry Pi OS Lite" which is most likely under an "other" section.
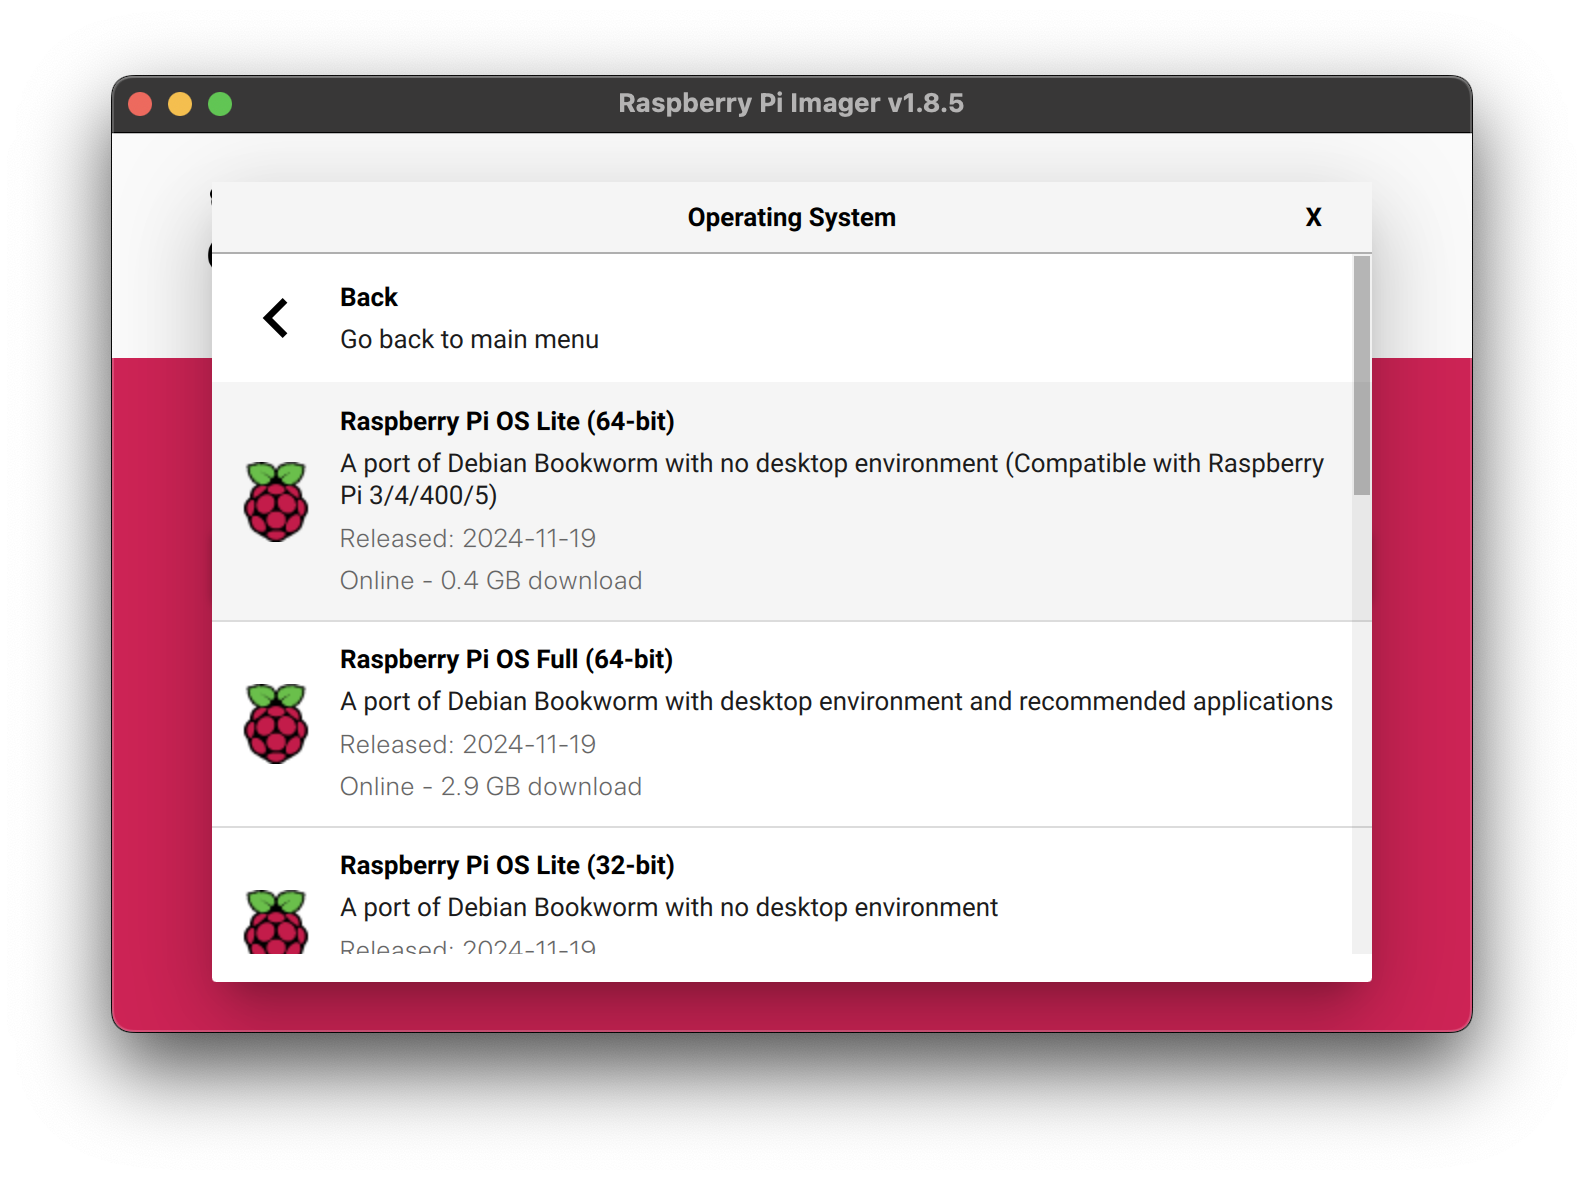
Third, you must select the microSD card as the as the storage medium.
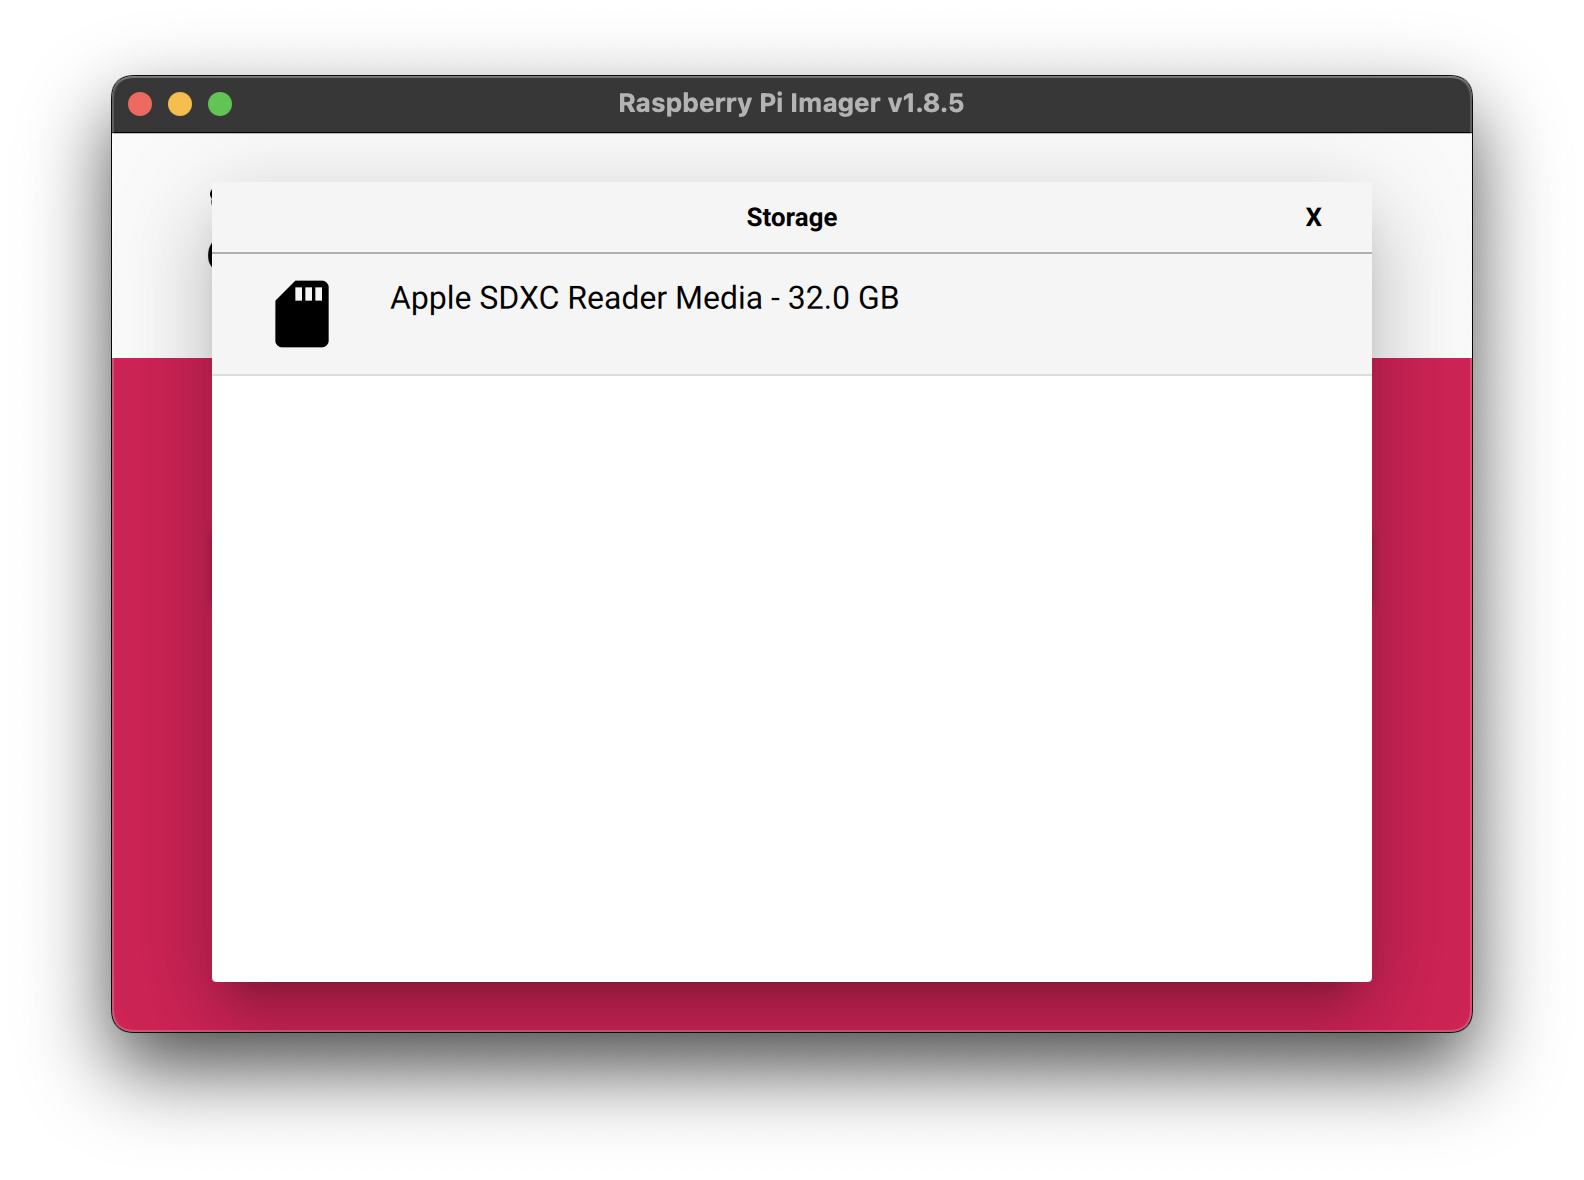
Now you can click "Next" and be presented with a prompt asking if you would like to customize the OS installation settings. YOU ABSOLUTELY DO! This is the most important step because it is what will allow you to configure the OS so you can ssh into the device without having to connect a display and keyboard.
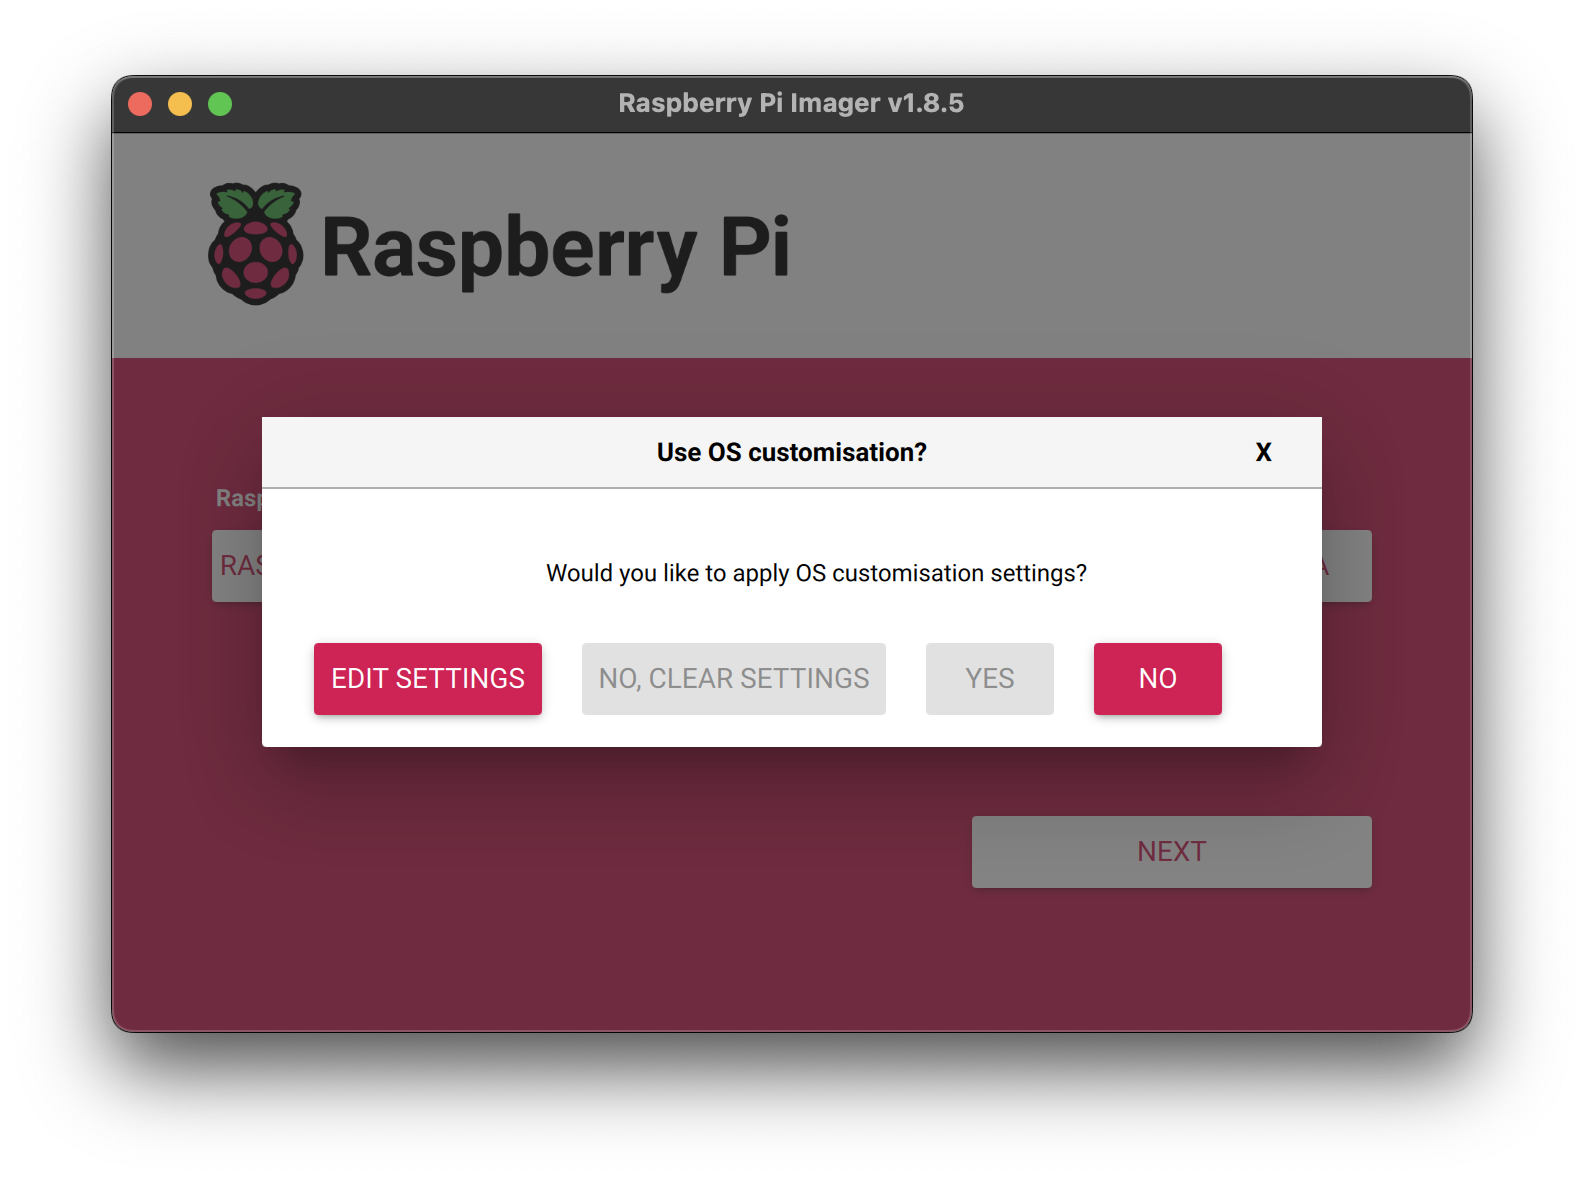
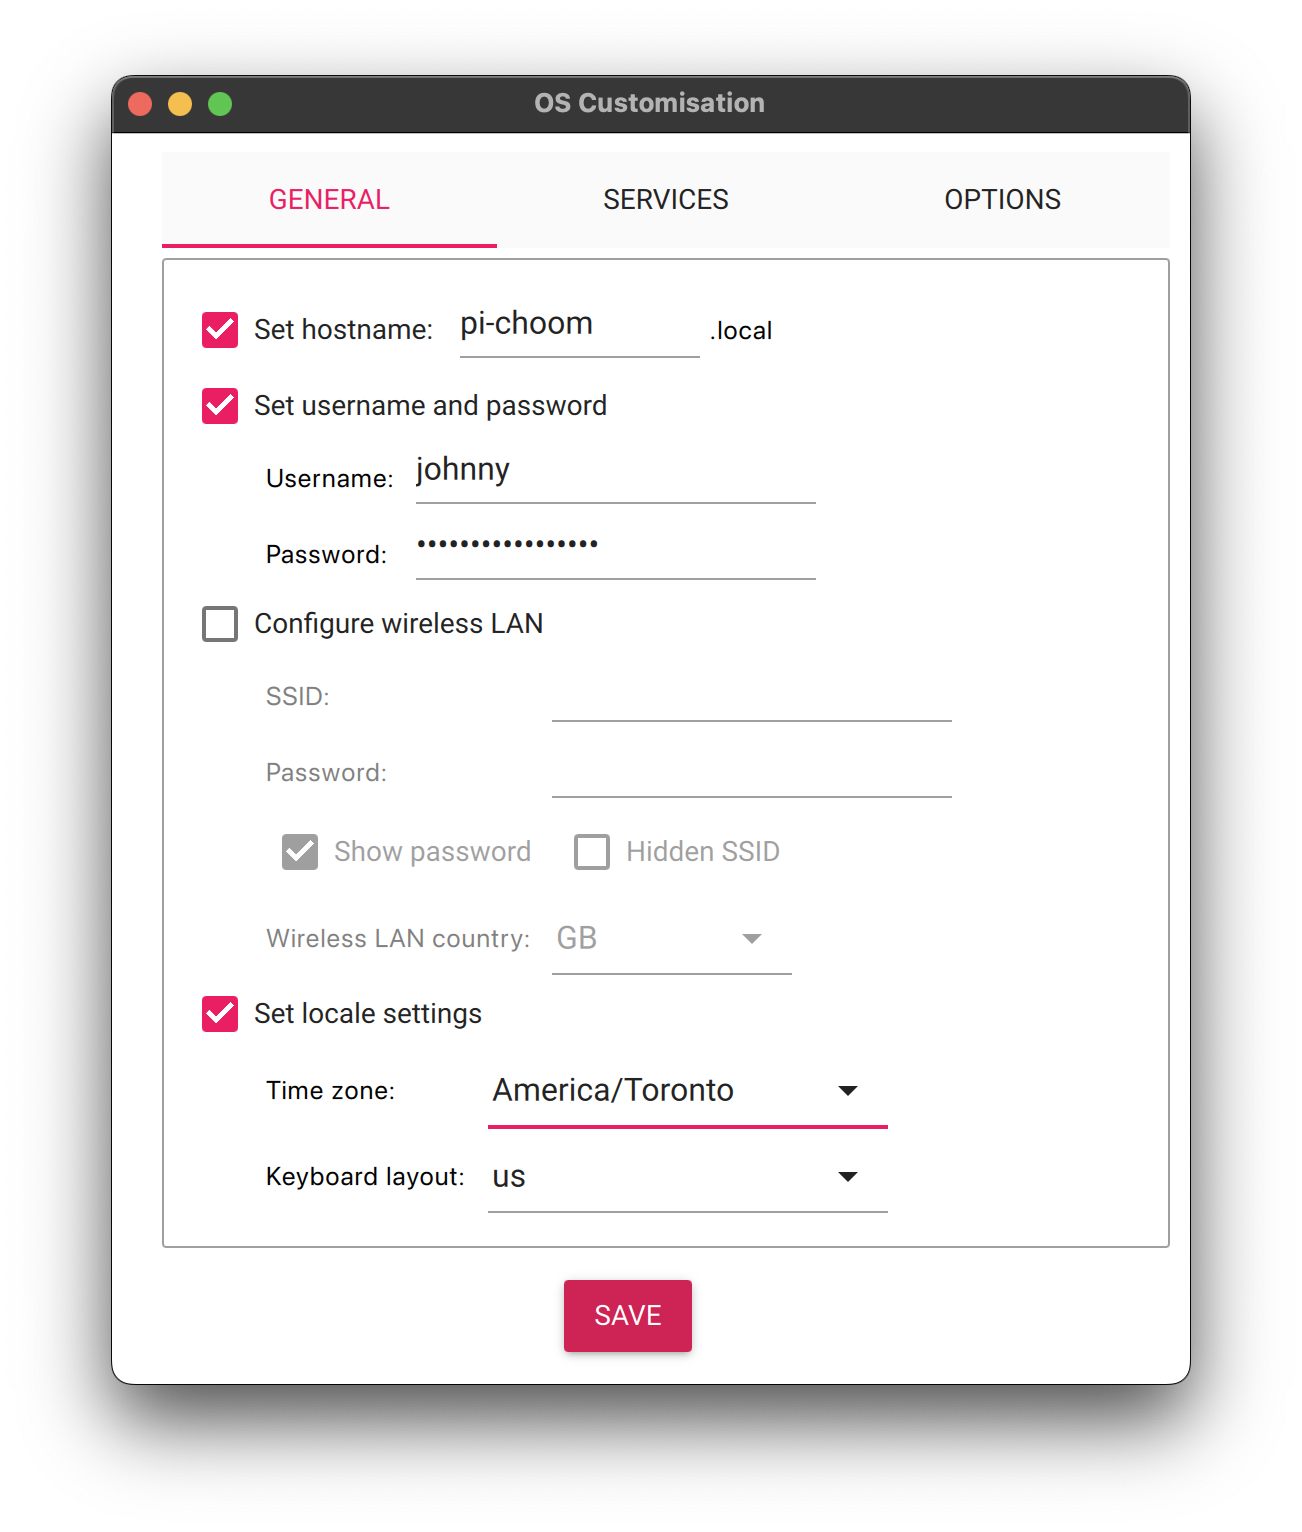
Are the bare minimum you'll want to set your hostname and username. The default hostname is raspberrypi.local which will immediately collide with any other Raspberry Pi on your network that you failed to customize. I recommend starting with the prefix "pi-" and then some descriptor for what this device will be used for. I hope that anyone reading this article doesn't need to be explained as to why default usernames and passwords are a horrible security practice.
Feel free to add your WiFi credentials if that is how you'd like to connect to your network. I use Power over Ethernet (PoE) with my Raspberry Pis so this is not a concern.
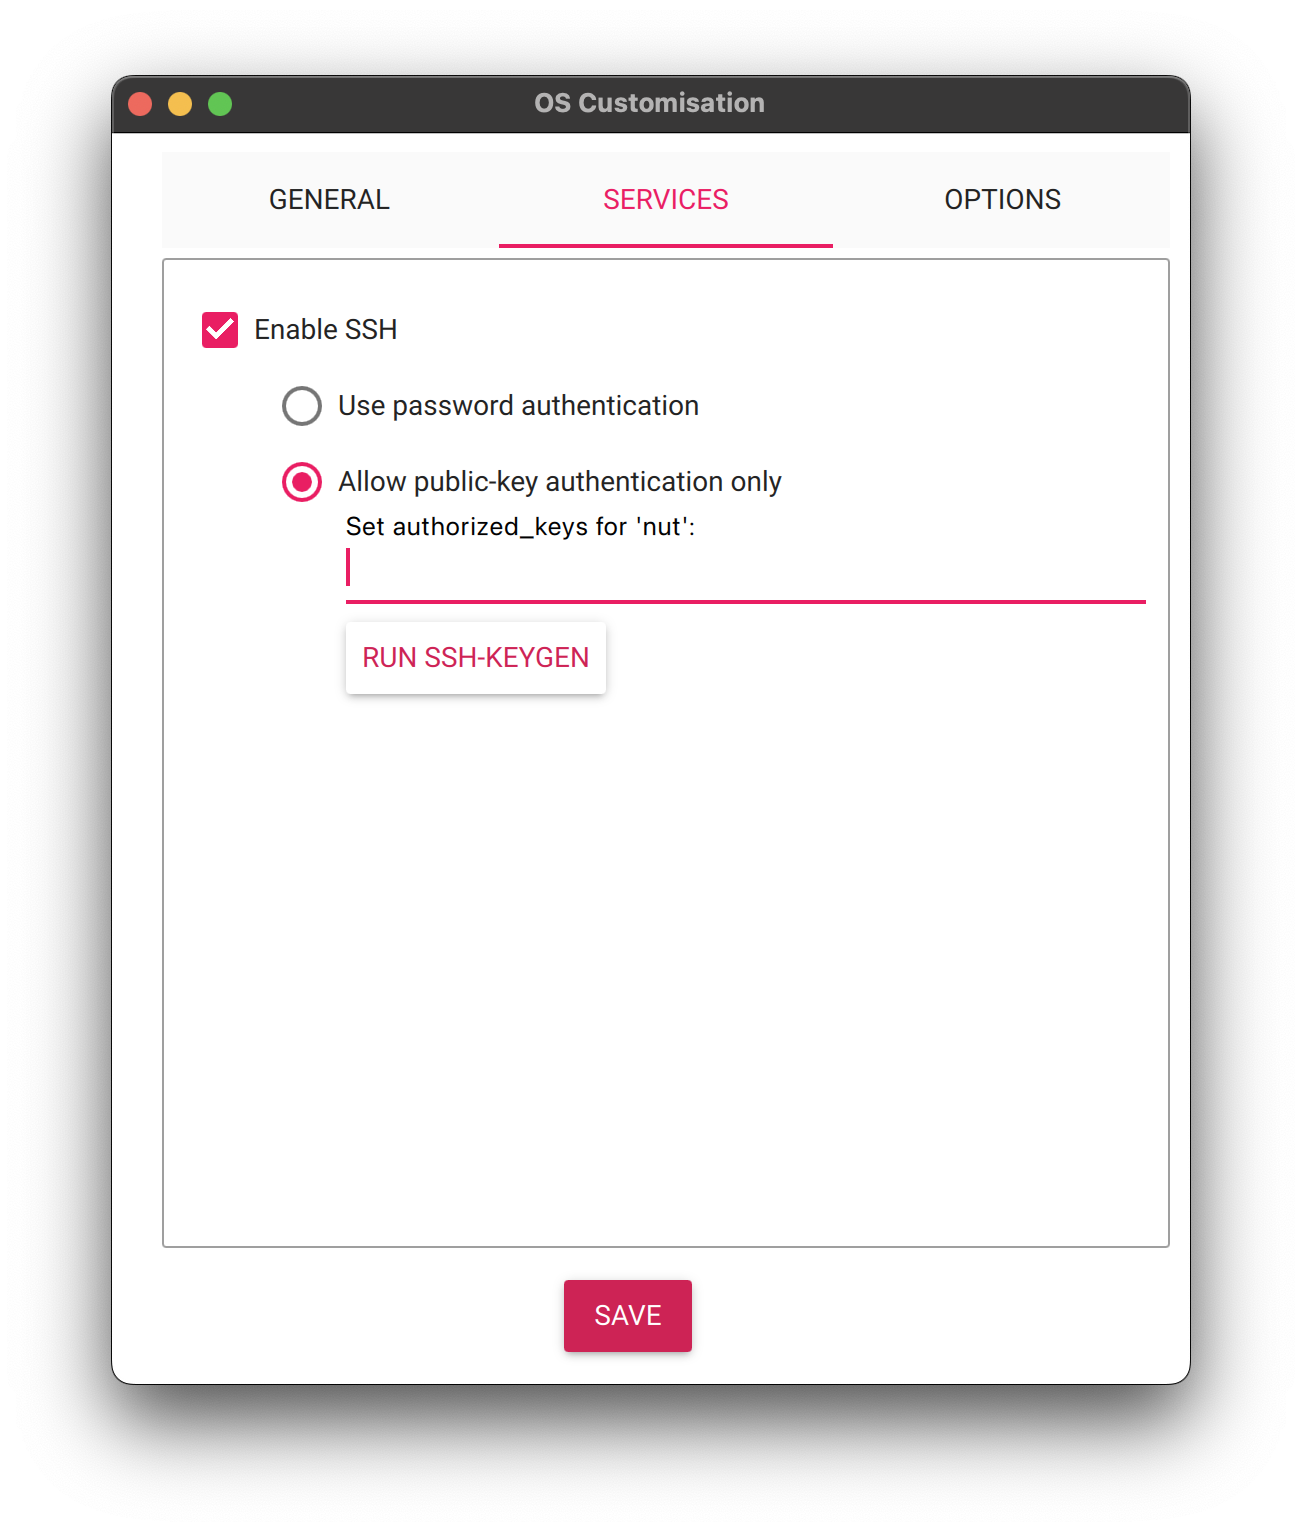
Next is the most important step. Switch to the "Services" tab and enable SSH. DO NOT SELECT "USE PASSWORD AUTHENTICATION". You only want to allow sshing into the device if the user has a valid key. Select "Allow public-key encryption only" and either copy an existing key from your ~/.ssh directory or generate a new pair.
You can start formatting the card which should take several minutes. Once it finishes, eject the microSD from your computer, plug it into your Raspberry Pi, and turn on the device.
Start your Raspberry Pi
It can take several minutes for your Raspberry Pi to boot for the first time so be patient. Looking at connected devices via your router is what I would recommend to determine if your Pi has finished booting and successfully connected to your network.
Assuming your username is pi and your hostname is raspberrypi.local (which it shouldn't be because you obviously customized it when installing the OS) you can SSH in using either ssh pi@rasbperrypi.local or ssh pi@XXX.XXX.XXX.XXX if you have the device's IP address. You should not be prompted for a password because you enabled public-key encryption only when configuring the Raspberry Pi OS.
To prevent having to type out the username and hostname every time you want to SSH into your Raspberry Pi I would recommend adding an entry to your ~/.ssh/config file. You are able to provide a unique name for your device so that all you would need is ssh UNIQUE_NAME to connect.
Host UNIQUE_NAME
HostName raspberrypi.local
Port 22
User pi
Hardening SSH
There are further improvements that can be made to SSH security by editing its configuration with sudo vi /etc/ssh/sshd_config.
- Change
Port 22toPort XXXXXso you are no longer using the default SSH port. It is one of those little steps that can help mitigate some of the most basic attacks on your device. Security through obscurity should not be relied upon alone, but as a piece of many layers designed to protect your system. - Ensure
PermitRootLogin nois set. There is absolutely no reason to allow someone to log into your device as root. They should log in as another user and request escalation. - Ensure
PubkeyAuthentication yesis set. You only want users to be able to access your device via public key authentication, never passwords. - Ensure
PasswordAuthentication nois set. Same reason as above. - Ensure
UsePAM nois set. This is more nuanced but while the Pluggable Authentication Module is powerful it is most likely overkill for your Raspberry Pi. I disable it by default until I find a reason to use it (which has never happened). - Add
AllowUsers pito the bottom of the file. You always want to have a whitelist so any new user you add is not automatically granted permission to SSH in.
These changes don't take affect automatically. You need to either restart your device or run sudo systemctl restart ssh to restart your SSH service.
Update all the things
Even if you downloaded the most recent Raspberry Pi OS using the Raspberry Pi Imager you are guaranteed to be out of date. Simply run the commands:
sudo apt-get update
sudo apt-get full-upgrade
sudo apt-get clean
and you will be all caught up.
Since Raspberry Pi OS is built upon Debian you theoretically can use their UnattendedUpgrades package. Generally speaking you want to enable automatically updates to ensure your device is secure. But at the same time because Raspberry Pis are typically confined to your local network and / or behave more like embedded devices with very narrow use cases, some people don't want to risk breaking their device from an unattended update.
But if you want to enable them it is super easy by merely running sudo apt install unattended-upgrades.
Enabling a firewall
Next you're going to enable a firewall using Uncomplicated Firewall (ufw) by running the commands:
sudo apt install ufw
sudo ufw allow XXXXX/tcp
sudo ufw enable
This will install Uncomplicated Firewall, allow port XXXXX to be used for SSH connections over TCP, and enable the firewall. Now the only port the Raspberry Pi can communicate on is the SSH port which lowers the surface area of potential attacks.
Running sudo ufw status verbose will allow you to confirm that the firewall is on and the correct rules have been enabled.
Status: active
Logging: on (low)
Default: deny (incoming), allow (outgoing), disabled (routed)
New profiles: skip

To                         Action      From
--                         ------      ----
XXXXX/tcp                  ALLOW IN    Anywhere
XXXXX/tcp (v6)             ALLOW IN    Anywhere (v6)
Install Fail2ban
Fail2ban is an excellent tool to use if your Raspberry Pi is going to be exposed outside of your network. It monitors your logs and automatically blocks IP addresses that look to be abusing your system.
Raspberry Pi's official documentation has a section on configuring fail2ban that you should follow if you're interested. Because the configuration of it can range from super basic to extraordinarily complex I'm going to leave it out of this article.
Require password for sudo
Something you hopefully have noticed while following along with this article is that you have never needed to provide a password when running any sudo commands. This is fine during the initial setup but seeing as how you're almost finished you should update your device to require a password when sudo is used.
Run sudo visudo /etc/sudoers.d/010_pi-nopasswd and you will most likely be editing a file with a single line that looks similar to:
<username> ALL=(ALL) NOPASSWD: ALL
and all you need to do is remove the prefix NO so your file should look like.
<username> ALL=(ALL) PASSWD: ALL
Save and quit and you will now require a password for sudo commands.
Assign a static IP address
Congratulations you have finished setting up a headless Raspberry Pi. There is only one more question to ask yourself and that is do you want to assign a static IP address to your device? While you can theoretically connect to it via its hostname I've had trouble doing this enough times that I always assign a static IP address to my Raspberry Pis.
If you go this route make sure to update the ~/.ssh/config file and change raspberrypi.local to be whatever static IP address you chose.